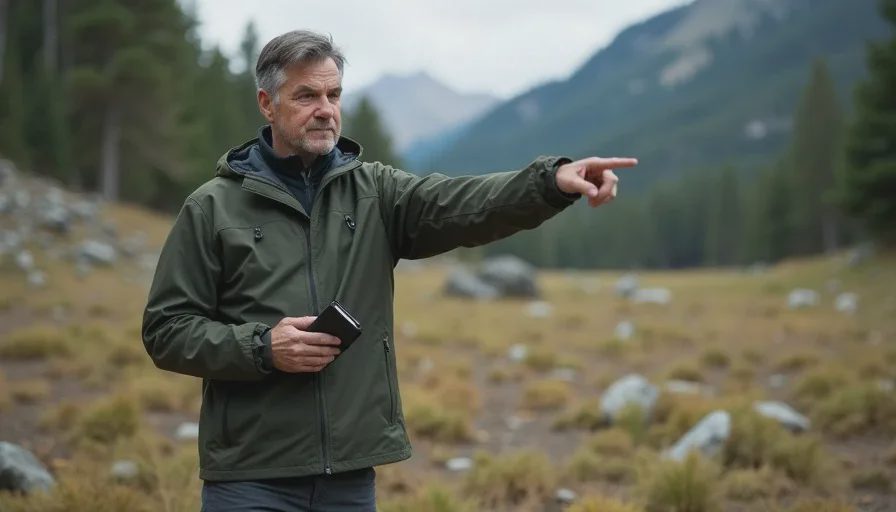
A starter base location is one of the highest-leverage decisions in the early hours of a survival crafting game. Choose well and the next several hours feel controlled. Choose poorly and you spend time relocating, rebuilding walls, or running long distances for basic materials while threats close in. This guide covers the practical filters I use when picking a starter base location so the position works for the run instead of against it.
I treat the first permanent-feeling spot the same way I used to evaluate warehouse staging areas: function first, appearance later. The goal is a location that reduces travel time, supports a short resource loop, and gives enough defensive simplicity to survive the early threat cycles.
What a Starter Base Actually Needs to Do
A starter base is not a finished fortress. It is a functional node that solves a short list of immediate problems:
Short, safe return path from the main early resource nodes.
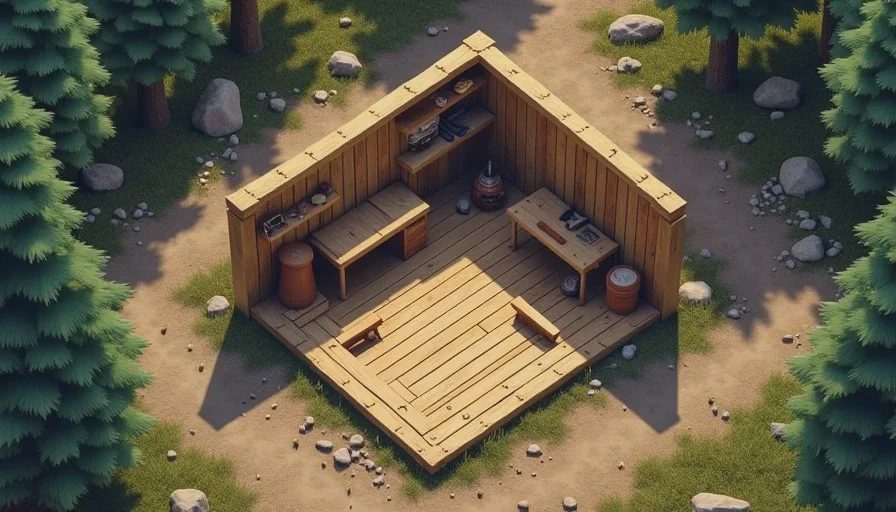
Enough flat or workable ground for basic crafting stations and storage without constant terraforming.
A defensive shape that can be closed quickly when the first real threat window arrives.
Room to expand in at least one direction without boxing yourself against a cliff, water, or high-traffic enemy path.
Access to the materials you will need in the next few hours so you are not forced into long supply runs while the base is still thin.
If a location fails two or more of these, I keep looking. Pretty views and dramatic cliffs rarely compensate for long walks or awkward defense.
The Filters I Apply Before Committing
I walk the area with a short mental checklist. The order matters because some problems are harder to fix later than others.
1. Resource Distance and Loop Quality
The starter base should sit inside a short, repeatable loop for the materials that matter in the next phase. Wood, stone, basic food sources, and whatever the local equivalent of early crafting components are should be reachable without a major expedition. I time a test loop in my head: gather, return, deposit, repeat. If the round trip already feels long while the base is empty, it will feel worse once inventory and threat pressure increase.
Locations that look central on the map but sit far from the actual early nodes create constant low-level friction. That friction compounds.
2. Defensive Simplicity
Early defense is about closing gaps quickly, not building elaborate walls. I look for natural chokepoints, limited approach angles, or terrain that reduces the number of sides I have to watch. A wide-open flat field can work if I am willing to build more perimeter, but it costs time and materials I would rather spend on crafting progression.
I also check line of sight. Can I see the main approach routes from the crafting area or the entrance? Surprises at the door are more expensive in the early game than in a fully geared midgame base.
3. Expansion Path
A starter base should have at least one clear direction to grow without immediate terrain fights. I avoid spots that are already boxed in by steep drops, deep water, or dense enemy spawn zones. Expansion pressure arrives faster than most players expect. If the only way to add storage or a second crafting room is to tear down existing walls or bridge a gap, the location is already costing future time.
4. Threat and Traffic Patterns
I spend a few minutes watching the area before committing. Local enemy paths, patrol routes, or environmental hazards that cross the future base footprint become permanent tax. A location that is quiet during the day but sits on a night route will force constant repairs or redesigns.
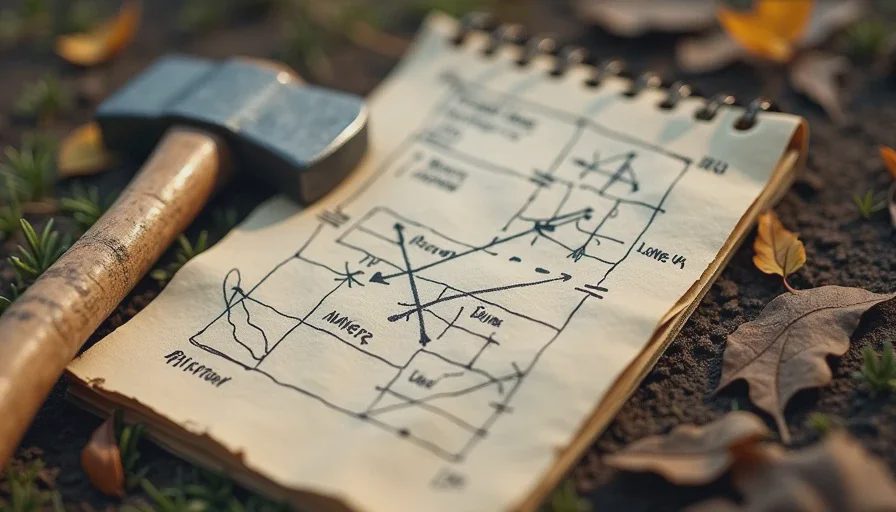
This is one of the reasons I still write notes in the field notebook even in digital games. A quick sketch of approach angles and nearby nodes saves more time than it costs.
5. Crafting and Storage Flow
Once the walls are up, the internal layout matters. I look for enough contiguous space to place the core stations so the walking path between storage, crafting, and the entrance stays short. Long internal travel times add up across dozens of trips. A location that forces awkward placement of the workbench or chests creates daily friction that never fully goes away.
Locations I Tend to Avoid Early
Certain patterns reliably produce regret:
Scenic overlooks with long drops on multiple sides. They look strong but limit expansion and complicate material transport.
Spots directly on major resource nodes. You gain short-term convenience and lose the ability to defend cleanly or expand without constant interruption.
Areas that require heavy terraforming before the first stations can be placed. Early time is better spent on tools, food stability, and basic defense.
Locations that sit between two high-traffic threat zones. You end up defending two fronts before you have the materials or the gear.
I have relocated more bases than I care to count because I ignored one of these patterns in the excitement of a new run. The second location almost always followed the checklist more carefully.
Solo Versus Co-op Considerations
In solo play the starter base has to be manageable by one person. That raises the value of natural chokepoints and short resource loops. You cannot rely on a teammate to hold a wide perimeter or run a long supply line while you craft.
In co-op the group can support a slightly more open location if roles are clear. One player can focus on perimeter while others run the resource loop or push the next crafting tier. The shared base still needs the same core filters—resource distance, defensive simplicity, and expansion room—or the group recreates the same early friction at larger scale.
Clear agreement on the location criteria before anyone starts placing walls prevents the common co-op problem of half-built bases in three different spots.
How the Starter Location Transitions Later
A good starter base does not have to become the final base. Its job is to carry the run through the early and early-mid phases without forcing a disruptive move. When a better long-term location appears, the original spot can become an outpost, a storage node, or a staging point for the next region.
The transition is smoother when the first location was chosen for function. You already have short loops, basic defense, and organized storage to support the move. Locations chosen for looks or temporary convenience tend to leave the run weaker at the exact moment you want to expand.
I still evaluate the original spot against the same filters when the midgame pressure increases. If it continues to solve the current problems, it stays. If it no longer does, the move is planned instead of forced by collapse.
Practical Sequence When Scouting
When I am ready to commit to a starter base I follow a short sequence:
Identify the two or three materials that will dominate the next several hours.
Walk potential spots that sit inside a short loop for those materials.
Check defensive angles and natural limits on approach.
Confirm there is room to add storage and at least one more crafting station without immediate terrain fights.
Test the return path under light threat pressure if the game allows it.
Only then place the first walls and core stations.
This sequence is faster than it sounds once the habit is formed. It is also far cheaper than rebuilding after a bad first choice.
Final Notes on Base Location
The starter base is a tool, not a monument. Its value is measured in reduced travel time, simpler defense, and cleaner progression, not in how impressive it looks from the ridge. Locations that score well on the practical filters free attention for the decisions that actually move the run forward—crafting order, resource routing, and threat preparation.
I still carry the same bias from years of staging physical inventory: the best location is the one that makes the daily work shorter and safer. Apply that bias early and you spend fewer hours correcting the map and more hours playing the game.
Build what keeps you alive first. Choose the ground that supports that work, then expand only when the next problem demands it.
No letters yet.