The enshrouded silver ore location is not an early-game stop, and hunting for it before your character and gear are ready is a good way to burn an evening. Silver appears in the later regions, where enemies hit harder, the terrain is less forgiving, and a casual mining trip can turn into a corpse run. The smart approach is to unlock the right areas, prepare a short route, and mine enough ore in one protected expedition.
Silver ore is mainly associated with the Kindlewastes and the high-level northern mountain territory, including the Albaneve Summits in current versions of the game. Deposits commonly appear inside caves, along exposed rock walls, and around abandoned mining areas rather than sitting beside the road. World generation and updates can shift the exact nodes, so treat named landmarks as starting points instead of expecting one permanent rock pile.
Where to Look for Silver Ore
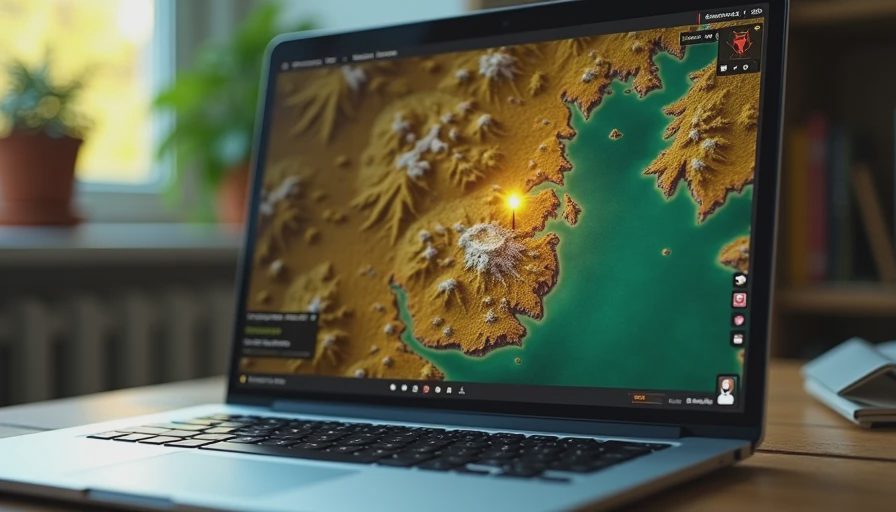
The most dependable enshrouded silver ore location is a late-game mining zone in the Kindlewastes or Albaneve Summits. Start by opening the map and looking for large cave systems, mining rifts, ruined extraction sites, and rocky valleys. Silver nodes have a pale metallic surface and stand out from ordinary stone once you know the shape. Bring a pickaxe with plenty of durability; arriving with a nearly broken tool is the resource-gathering equivalent of packing one boot.
In the Kindlewastes, search around the larger underground pockets and mining structures instead of skimming the surface. The desert has long sightlines, but that does not mean every useful deposit is visible from the road. Caves tucked beneath cliffs can hold several nodes close together. The Albaneve Summits are colder and more dangerous, yet the exposed cliffs and mountain tunnels make deposits easier to spot once you have a safe route through the region.
Place a Flame Altar near, but not directly inside, your chosen mining area. This gives you a return point, storage access, and a practical way to reset your run. Do not build an elaborate fortress for a temporary operation. A bed, chest, crafting station, and a few defensive walls are enough. Build what keeps you alive first.

What to Bring Before the Mining Run
The next enshrouded silver ore location will not help if you cannot survive the trip. Pack food that restores health, healing potions, water if your current setup uses it, and a stack of basic building blocks. A glider is useful for crossing broken terrain, while a ranged weapon helps remove flying enemies before they turn a narrow tunnel into a trap.
Carry at least one reliable pickaxe and enough materials to repair or replace it. Inventory space matters more than players expect. Silver ore is heavy enough that a route can end early when every slot is filled with unrelated loot. Empty your bag before leaving, and store spare weapons, plant fiber, animal parts, and decorative items at home. You are mining silver, not conducting an archaeological dig.
Armor appropriate for the region is also important. If your gear is several tiers behind the enemies, skip the deep route until you upgrade. A stronger weapon can reduce the time spent in combat, but defensive upgrades are just as valuable when a cave has multiple entrances and no clean retreat. Eat before entering, mark the route on your map, and place a temporary Flame Altar if the trek from home is long.
A Simple Silver Farming Route
Use this enshrouded silver ore location method instead of wandering randomly. First, identify one cave or mining structure in the Kindlewastes or Albaneve Summits. Second, clear the entrance and mark every branch on your map. Third, mine the visible deposits while moving in one direction. Do not zigzag between tunnels; that wastes stamina and makes it harder to remember which chambers you checked.
After clearing the main pocket, inspect the upper ledges and dead-end chambers. Silver nodes often hide where the lighting is poor or where a rock shelf blocks the first view. Use torches or a light source, but keep your combat weapon ready. When the cave is clear, return to the Flame Altar, unload the ore, and make a second pass only if the route is safe and the nodes have respawned according to your world settings.
A short loop is better than a heroic expedition. Ten or fifteen minutes of repeatable mining beats an hour-long trip that ends with a death, lost inventory, and a second journey just to recover the first one. If you play co-op, assign one player to watch entrances while the other mines. That small division of labor keeps interruptions from becoming a full retreat.
How Much Silver Should You Mine?
The useful enshrouded silver ore location is the one you can revisit without drama, so avoid chasing a perfect haul on your first visit. Mine enough for the immediate recipe, then collect an extra batch for future bars and upgrades. A full stack or two is usually a sensible target when your equipment and storage can support it. The exact amount depends on your crafting plans, but silver is rarely worth filling every chest with before you know what the next progression step requires.
Return to your base and process the ore through the appropriate smelting setup. Keep fuel stocked before the expedition so the ore can become usable material immediately. Silver bars are commonly tied to higher-tier crafting, equipment improvements, and progression recipes, so check the Blacksmith and other crafting NPCs before spending the entire supply on one attractive upgrade.
That check prevents a familiar mistake: using the first batch on a low-priority item, then discovering the next quest or weapon needs the same metal. Write down the recipe you are pursuing, count the ore already stored, and gather the remainder in one planned run. Good bases solve tomorrow's problem early, but they do not need every luxury station before your core gear works.
Silver Mining Mistakes to Avoid
The biggest mistake is searching the starting regions for a resource that belongs to later progression. If copper and tin are still your main bottlenecks, focus there until the game naturally opens the silver areas. Another mistake is following an old video that shows a specific deposit as permanent. Enshrouded changes during development, and map details can differ after updates or between guides.
Do not ignore enemy camps near a mine. Clearing the area first makes repeated runs safer and gives you a reliable landmark. Do not place your altar in a dangerous open space just to save a few steps. A protected approach is worth more than a slightly shorter walk. Finally, mark productive caves immediately. The best enshrouded silver ore location is not merely where you found one node; it is the route you can remember, defend, and repeat.
Before leaving, use this quick checklist: repair your pickaxe, empty your inventory, bring healing supplies, confirm the region on your map, mark the cave entrance, and set a return point. Follow that process and silver becomes a planned resource run instead of another weekend lost to aimless rock breaking.
No letters yet.